


Hello coders! And welcome to a new blog tutorial where we'll learn how to deploy a Flask web app on Vercel. Are you here to find a Heroku alternative? Then Vercel it's YOUR way!
I faced this problem recently because I wanted to migrate all of my websites from Heroku to Vercel, due to the new policy of deletion of Heroku of the free tier. However, I had a very rough time trying to figure it out how to do it, since every time I tried to, even by doing exactly the same thing as I did with Heroku, an error message would appear in my webpage once deployed, but without any details about it on the build console log, which ended up on frustrating me a lot.
To understand why does this happens, you have to understand that Heroku and Vercel, even though they accomplish the same goal by being a cloud website hosting service provider, they do it by following different steps. Without further ado, let's begin!
For this tutorial, I will create a very simple hello.py file:
from flask import Flask

app = Flask(__name__)

@app.route("/")
def hello_world():
    return "Hello World!"
Of course, we should have our basic Flask folder structure with our templates and static folders.
Now, in order to deploy this demo project to Vercel, we should follow two steps, and one additional step if you have a database:
We have to expose the files of our app. How do we do this? Easily. By inserting the files of our app (
.pyfiles,staticandtemplatesfolder) into anapifolder.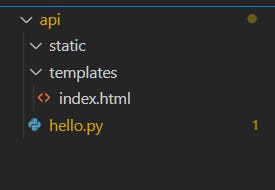
This works because Vercel by default looks at the structure of your project automatically looking for an
apifolder, which uses it to expose as a regular API would do, everything that is inside!Create a
vercel.jsonconfiguration object file on the root of your project. With this file, we will tell Vercel how it should build and deploy our app. Please, keep in mind that the file should be named EXACTLY asvercel.json.Our
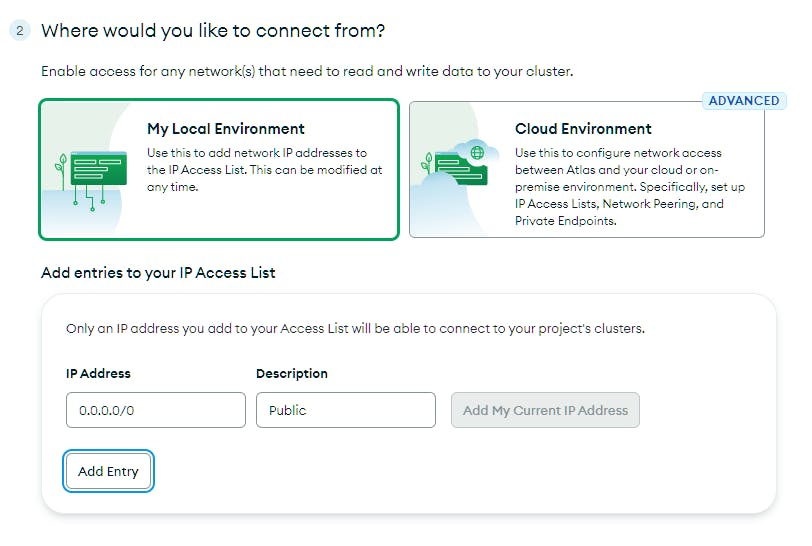
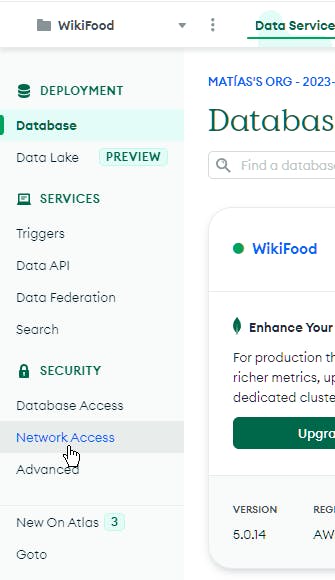
vercel.jsonfile should look like this:{ "builds": [ { "src": "api/hello.py", "use": "@vercel/python" } ], "routes": [ { "src": "/(.*)", "dest": "api/hello.py" } ] }ONLY If you have a database provider like MongoDB, Google Cloud SQL, or basically a database where you have to configure the authorized IP addresses that can access to your database, then it's really important to note that Vercel's websites have ephemeral IP addresses, which means that the IP addresses that it uses, are dynamic and changes as time passes. That's why, as a third step, on your database provider you should allow all IP addresses from being capable of accessing your database.
Of course where you change it depends completely on the provider that you use, but wherever you have to do so, you have to add
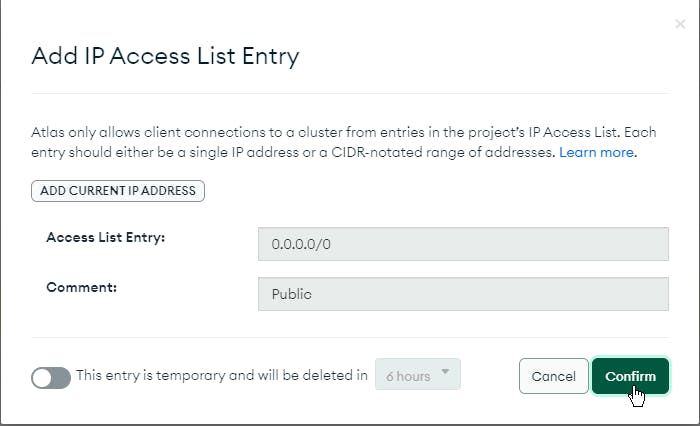
0.0.0.0/0as an allowed IP address. This specific authorized IP will allow all range of IP addresses to access to your database. Please, be aware of this potential risk. However, remember that if a user doesn't have your database credentials, even though its IP it's allowed, it won't be able to establish a connection with your database.
Here I'll leave you a couple of examples of where you can authorize an IP address with different database providers.
MongoDB:
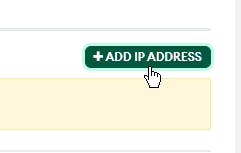
If you're creating a new cluster:
If you have a cluster already created:
[Your project] > Security > Network Access > Add IP Addresses
Google Cloud SQL:
[Your instance] > Connections > Add Network
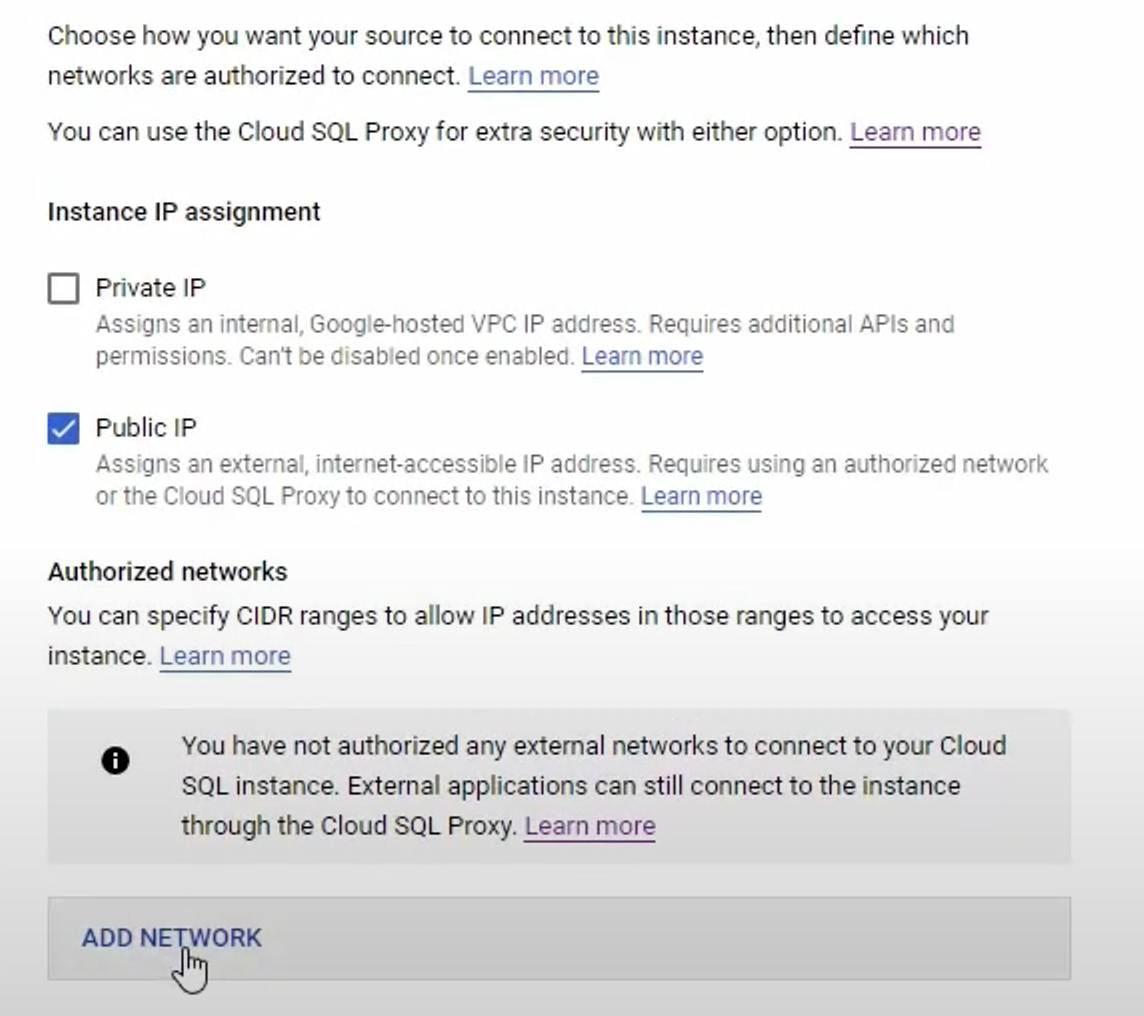
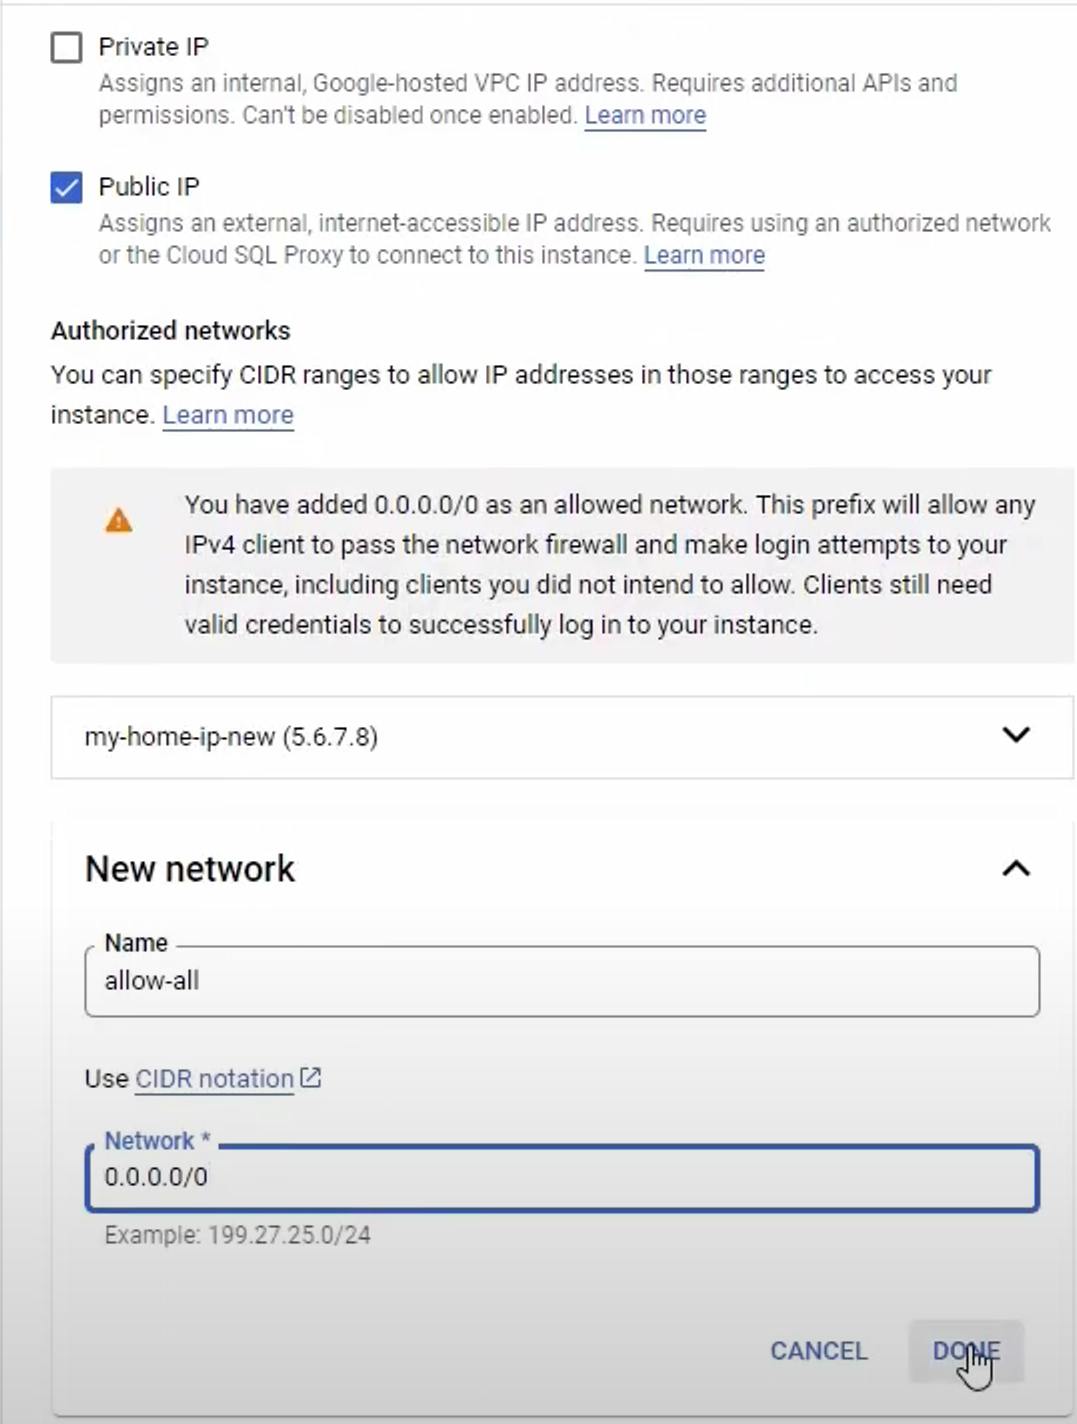
As you can see, where you change this configuration completely depends on the database provider that you're using. However, keep in mind that you may not have to do this for all database providers.
And that's it! Now the only thing that remains to do, it's to push your changes to your GitHub repository and to go to vercel.com and deploy your new project as you would normally do.
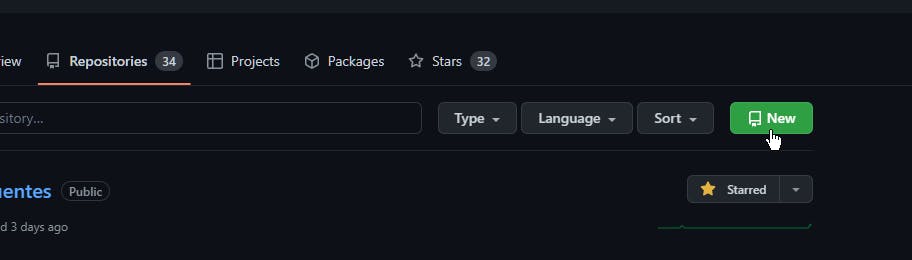
How to push your changes to your GitHub repository:
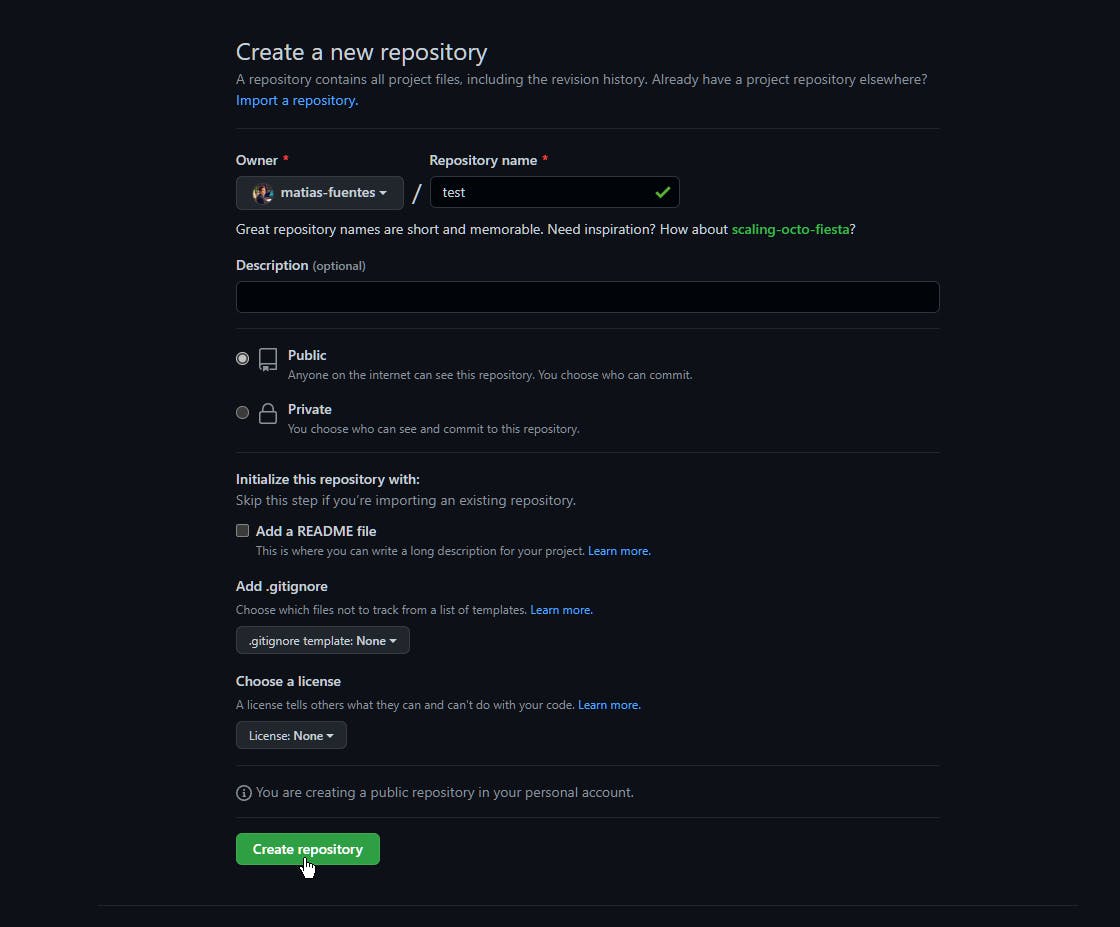
You have to first create a repository:
GitHub > Repositories > New
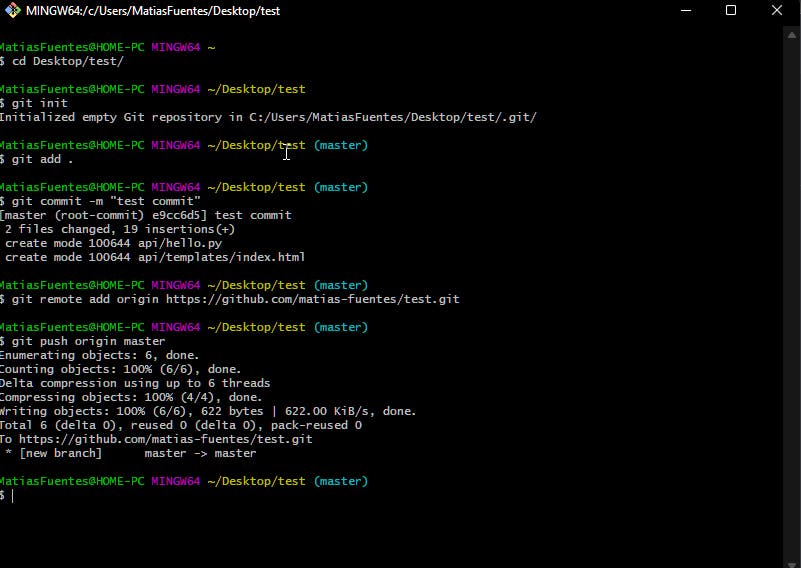
Once it is created, on your Git Bash terminal, push your code to your remote repository:
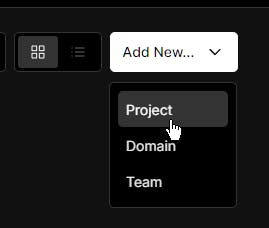
How to deploy your code to Vercel:
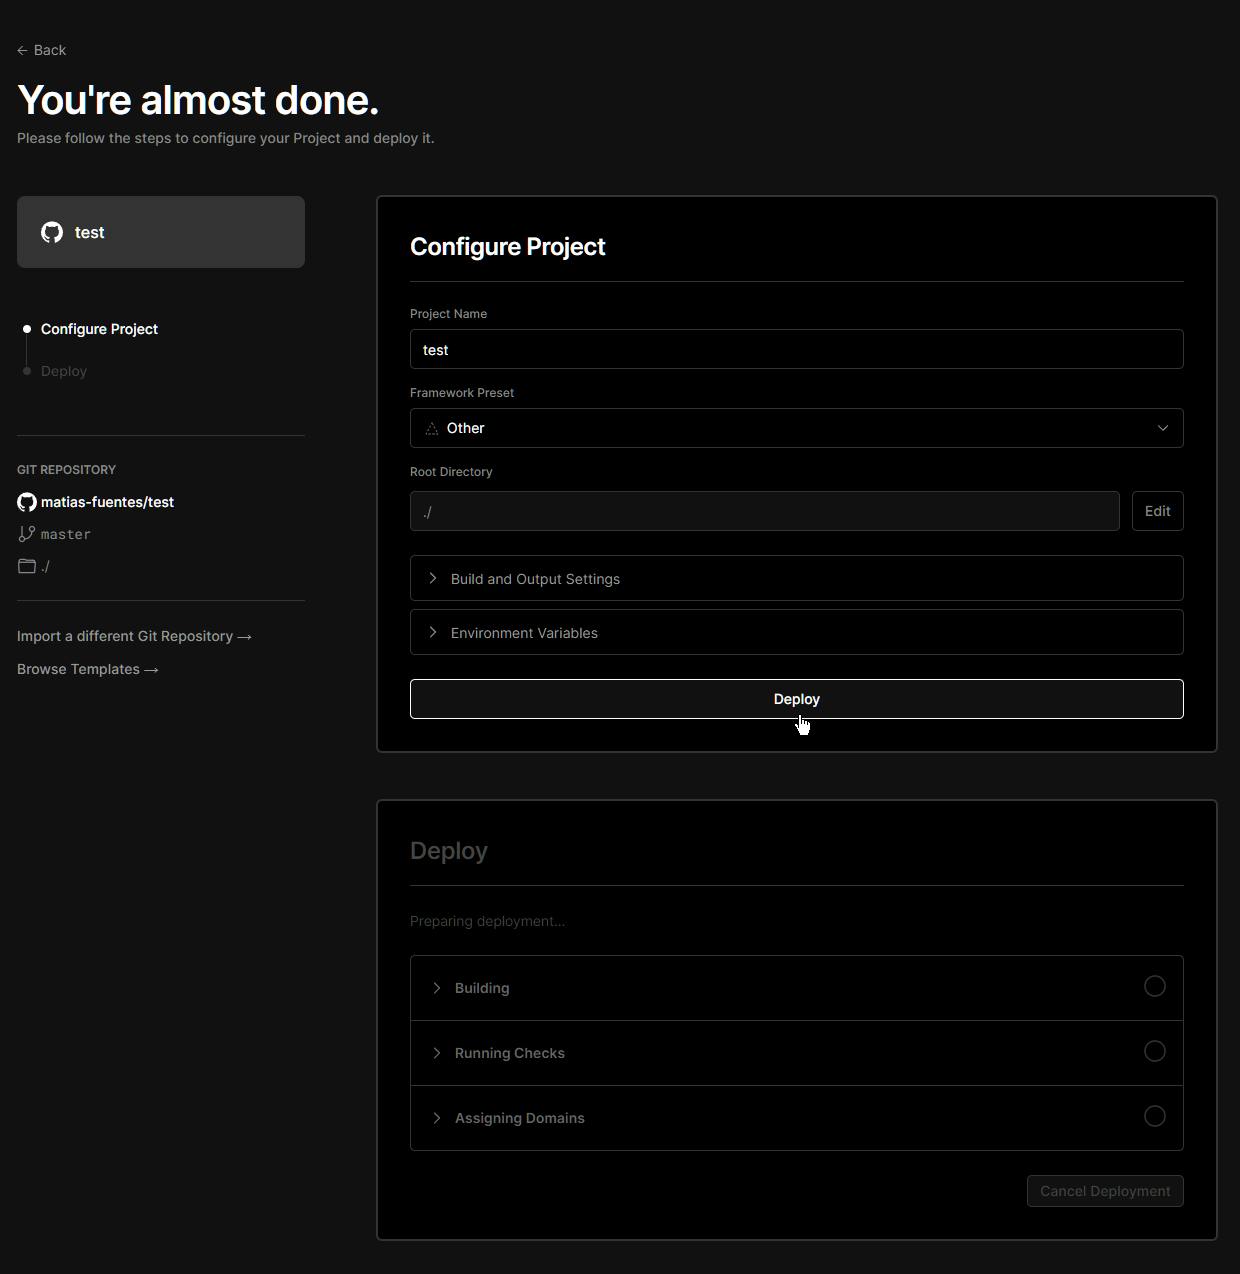
Vercel > Add New... > Project
Go to vercel.com.
Log in to your account. If you do not have one, then create one.
Go to Add New... > Project.
Authorize GitHub Third-Party OAuth with your account.
Import your GitHub repository.

Deploy your app.
Be patient. If your app it's a little bit heavy in terms of size, even though Vercel says that it has successfully deployed your application, it may appear an error when you try to visit the page. But don't worry, if you have done everything correctly, in no more than 5 minutes you should be able to have your website up and running.
Aaand... that's it!

Congratulations! You have successfully deployed to the Internet your first webpage!
I hope that this tutorial has helped you so you don't have to pass through the same headache that I had to in order to deploy all of my Flask web apps.
Also, don't forget to follow me on my LinkedIn, GitHub, and even YouTube channel! I would love to have you there.
LinkedIn: linkedin.com/in/matias-damian-fuentes
GitHub: github.com/matias-fuentes
YouTube: youtube.com/@MatiasFuentes-DEV
Have a great day coder, and see you soon on my next article! Bye!